Use certreq.exe to request certificate
· 3 min read
In this article, I will explain how to use certreq.exe and certutil.exe to request certificate from Windows CA.
A lot of time when we need to obtain SSL certificates to help secure the communications or use for authentications. For public certificate, it's quite simple as many tools to generate the CSR. But if we are using Windows Certificate Authority (CA), it may not be that simple.
Request Certificate from Windows CA
You first need get the CA name (typical format Server name\CA Name) and template name you need.
- Prepare a text document with content like the following and save as
<file name>.txtin a folder. Also check the Cert Template to use for this certificate request.
[NewRequest]
Subject = "CN=server.local,c=HK"
Exportable = TRUE
KeyLength = 2048
KeySpec = 1
RequestType = PKCS10
ProviderName = "Microsoft Enhanced Crytographic Provider v1.0"
[RequestAttributes]
CertificateTemplate=Machine
HashAlgorithm = Sha256
[Extensions]
2.5.29.17 = "{text}"
_continue_ = "dns=server.local&"
- Open Command Prompt with Admin Right and enter the following to create CSR
certreq -new -q -config "<CA Name>" .\<file name>.txt <file name>.csr
- Run the following command to submit the request to CA
certreq -submit -q -config "<CA Name>" .\<file name>.csr <file name>.cer <file name>.p7b
- The result should be looks like this and note the Request Id generated

- If your CA is Run the following command to approve the request, type the follow command we use
certutil.exeto approve the request. Otherwise, skip to next step
certutil -config "<CA Name>" -resubmit <Request Id>
- Run the following command to extract the approved request from CA
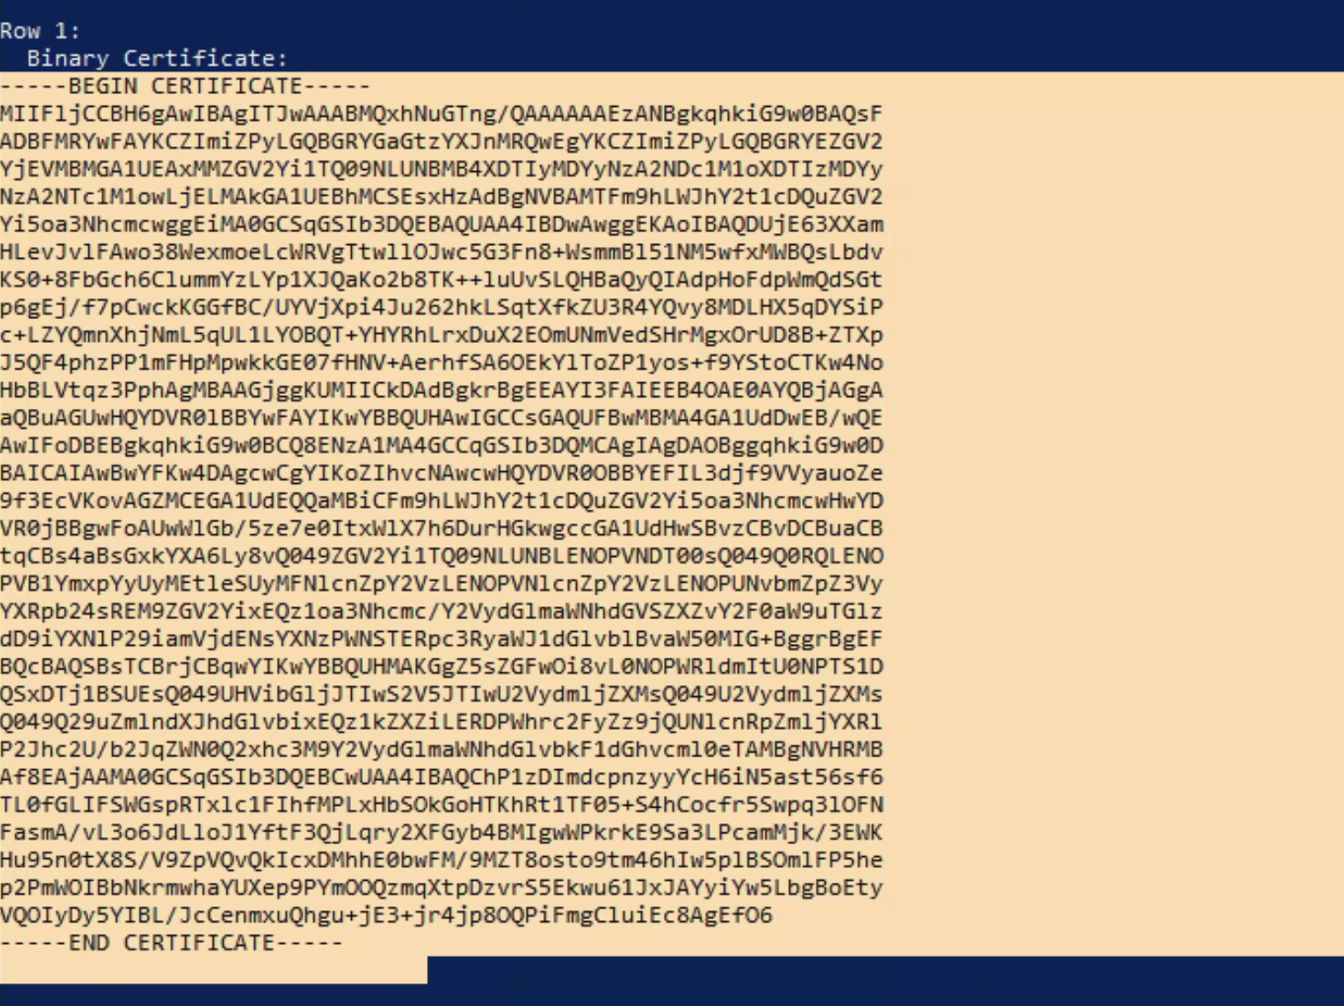
certutil -config "<CA Name>" -view -restrict "requestid=<request ID>" -out rawcertificate
- Copy the text generated (between the --- BEGIN CERTIFICATE--- and --- END CERTIFICATE---) and save to a file with cer extension (like
server.cer).
- The certificate would then be saved to local machines' certificate store and ready for export
Export Certificate as PFX
- Start MMC and add Certificates (Local Computer snap-in)
- Navigate to Personal -> Certificates
- Locate the certificate and right click choose Export

- Click Next
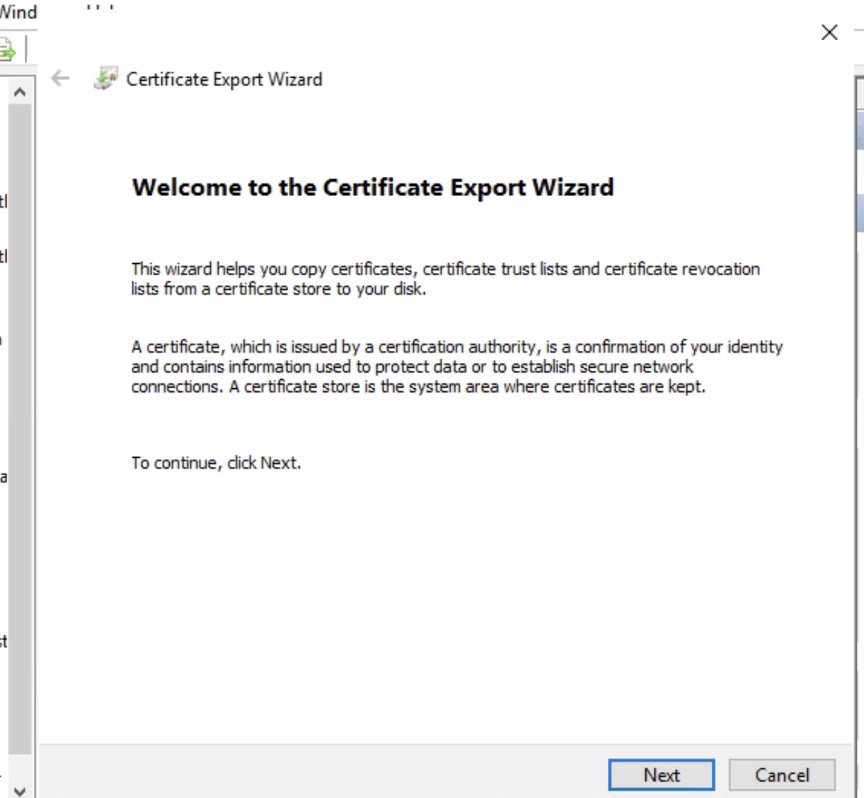
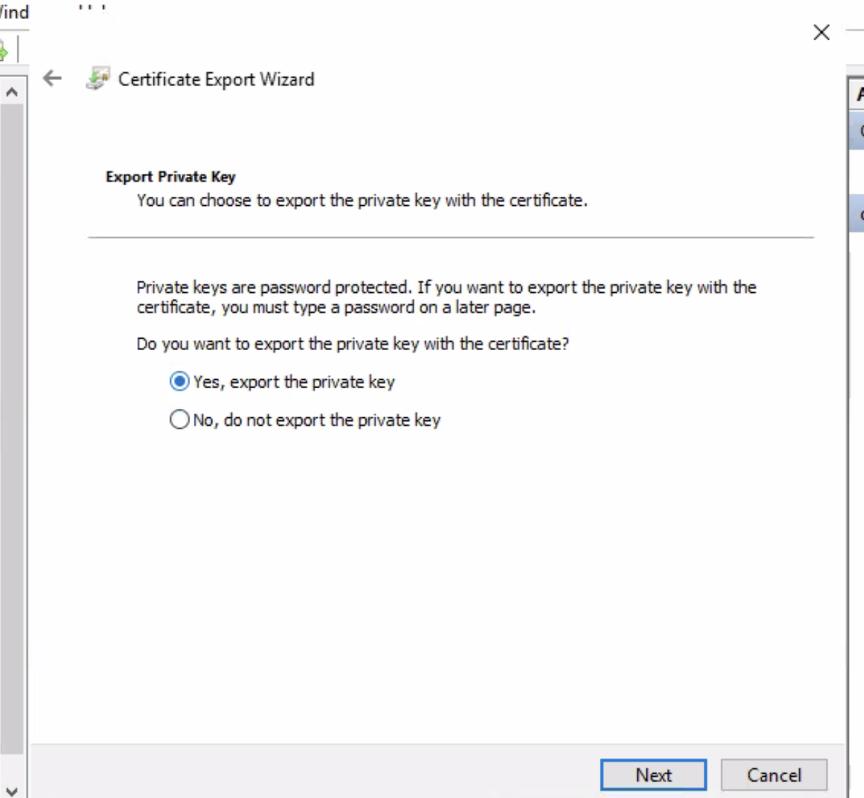
- Select Yes, Export the private Key and click Next
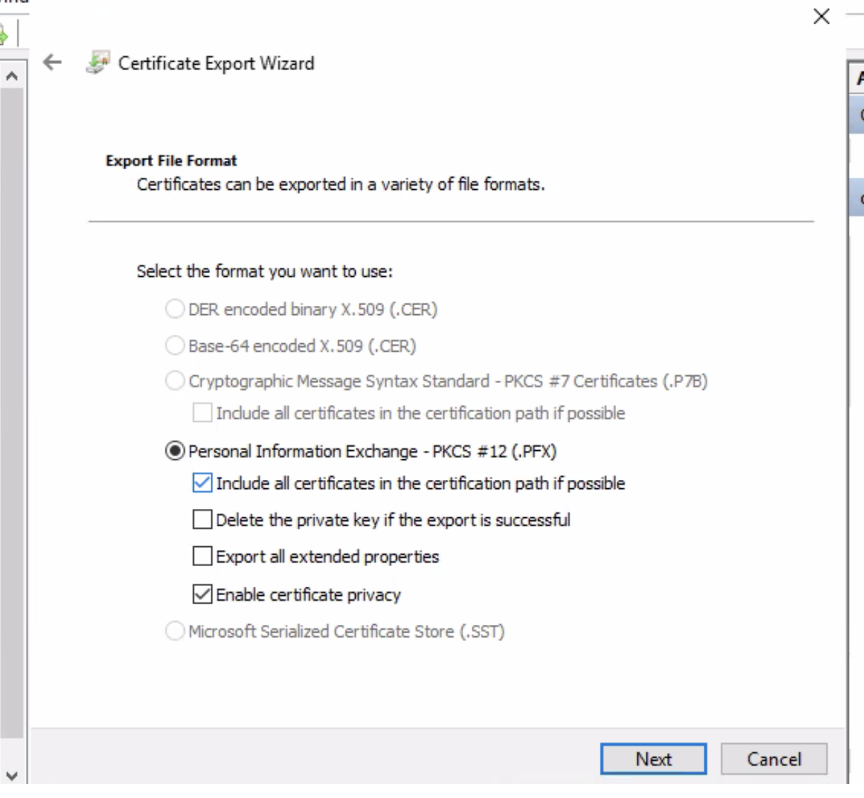
- Click Next on format to accept default
- Check the Password box and specify the password for the pfx exported. Then click Next

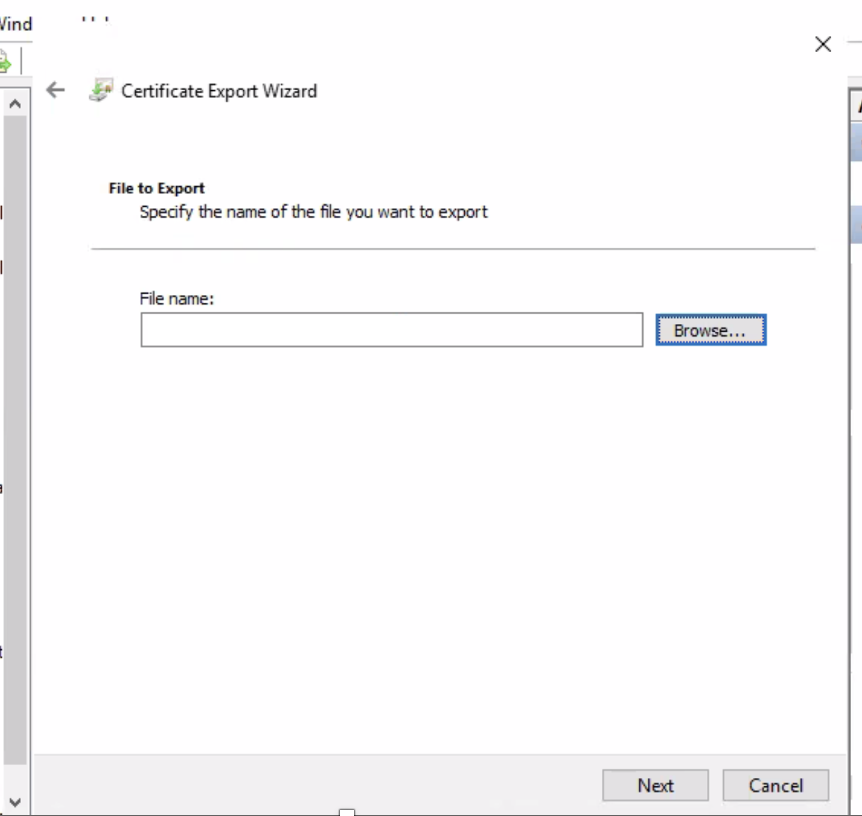
- Specify the path for the PFX and click Next
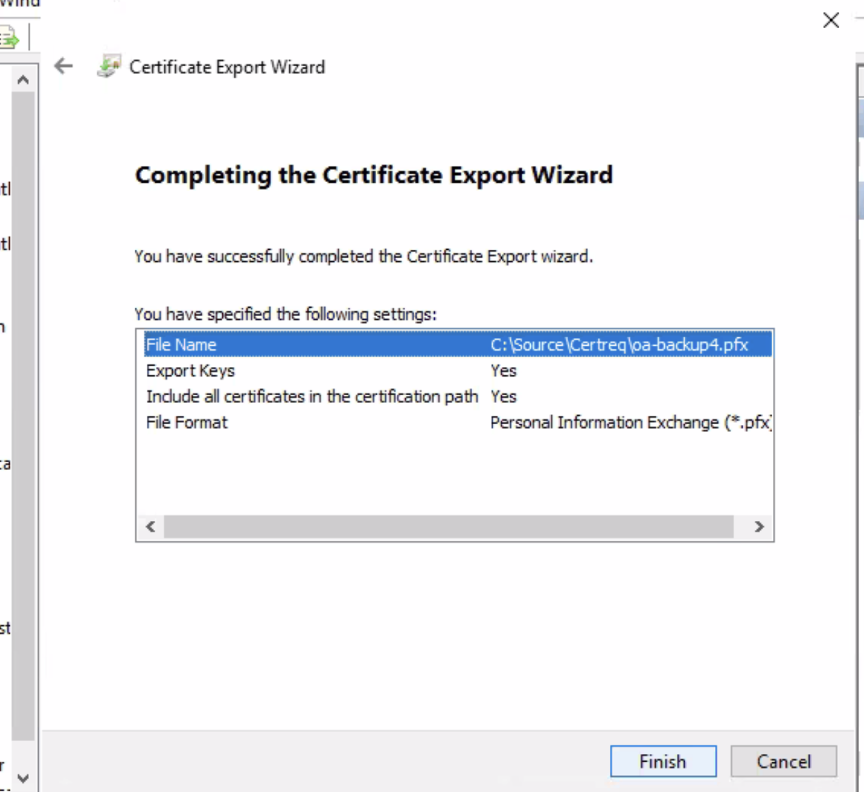
- Click Finish
Summary
You can then remove the certificate from the local machine store and take the PFX to install to your servers/applications.
